


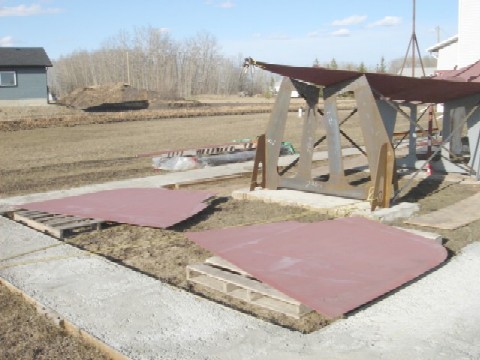
Bottom Plates
Test for the gantry
When we were unloading the container, we put the bottom plates in place ready to be lifted as I would have had no means to do it myself.
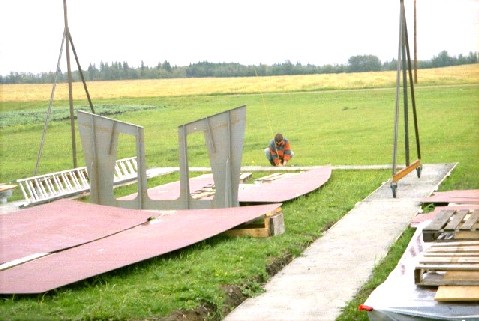
Lifting four bottom plates was a real test for the gantry because as I said earlier they weighed over 200 kg each. And it worked!
Welding bottom plates
My plan was to weld the bow and aft plates first, then the left and right halves. There were only three jigs. I put aft plates on two aft jigs and clamped t-bars to their edges to provide some support for the bow plates. Then I put the bow plates on the first jig and the t-bar and tack welded them to the aft plates.
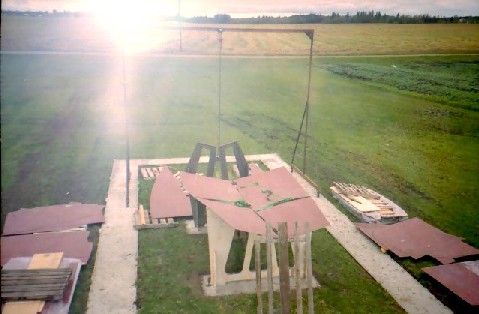
Then I started tack welding the left and the right halves. As per assembling instructions, I began from the middle of the boat and moved aft making sure that marks were aligned.
To join the plates, I used 2 ton hydrolic jack lifting both plates until they meet.
When I reached the aft, one side appeared to be shifted by about 3 mm relatively to the other and the marks at the aft were not aligned. They were still perfectly alinged in the middle. That made me think that the marks were not precise. The same happened to the bow plates. Moreover, the entire bottom was out of shape, particularly in the middle. It didn't follow the central jig lines. It basically kind of collapsed. My effort to straigten it, so that it becomes fully rested on a jig, caused the bow to lift off the jig and hover a few inches over it.
At that point I wasn't sure what went wrong and how to fix it. I decided to carry on with the longitudinal members to provide a bit of rigidity to the bottom. It took me a weekend to put them in place. Unfortunately, I didn't make a picture of them but they would be shown on the next pages as part of the frame installation.
First mistakes
I did not want to begin the construction with compromises, so after longitidinal bottom stringers were in place, I ground off the welds holding left and right sides of the bottom and moved one side, so that the middle marks are misaligned by 3 mm.
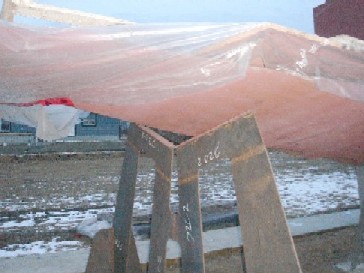
Prior to rejoining two sides from scratch, to prevent the bottom from collapsing, I decided to install the central bulkhead to keep the bottom plates in shape with the jig.
The result was better but still not perfect. One side was still shifted relative to the other by about 1 mm.
I decided that this was acceptable since the kit had been cut with 1 mm precision. Of course, I would have to grind it off before installing the transom.
The problem with the bow though still remained. It kept hanging few inches over the bow jig.
I had remained puzzled till next spring. I emailed Bruce asking if he had an idea of how to fix it. I thought that might be under the hull weight the bow would go down and lie on the jig. I also suggested to grind off some longitudinal welds to ease the tension in this direction. Even though Bruce agreed with it, the problem turned out to be so obvious that I was surprised that Bruce hadn't noticed it by looking at my pictures.
Next spring, when I was about to install the first frame, I realized that the bottom was lying on the jig in the wrong place. It had to be moved back by more than a meter! Also, the central bulkhead, which was in the right position relative to the jig, was in the wrong position relative to the bottom! It had to be removed and reinstalled.
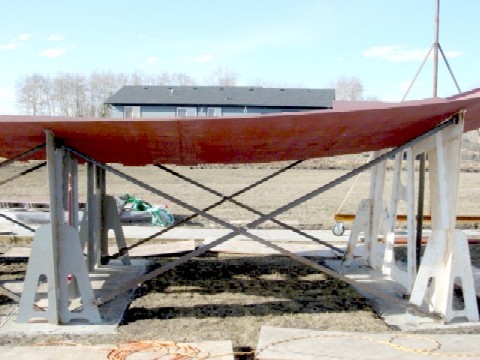
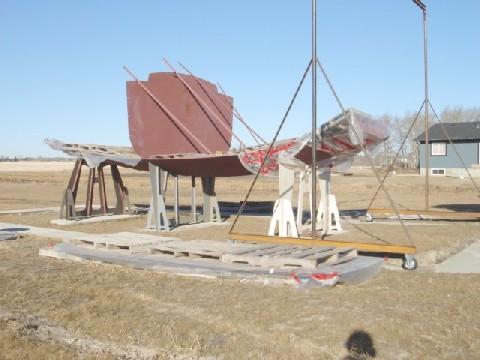
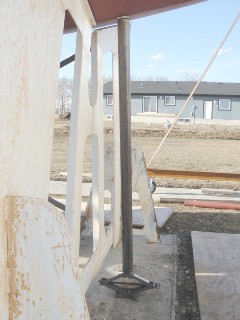
Placing diagonals
Prior to fixing my silly mistakes, I had to do what I should have done at the beginning - interconnect all three jigs with diagonals. They kept moving back and forth and I kept spending a lot of efforts on repositioning the bottom plates.
I got eight inch and a half by a quoter of an inch steel angles at a metal scrap yard, and cut them to length. Then I adjusted three jigs to be at the correct distance from each other, centered on the concrete pads and square. Then I welded the diagonals in place.
Removing the bulkhead
Removing the bulkhead wasn't a problem. I cut my tack welds with four and a half inch angle grinder using the metal cutting disk and then lifted it off with the gantry.
After having to redo the bottom plates and then the bulkhead, I began fully appreciate Bruce's repetitious comments about tack welding. He mentioned it many times on every page of the assembling instructions and in his book The Complete Guide to Metal Boates, which Tania presented me for my birthday.
Before putting it back in the new place, I welded in 40 by 40 mm vertical angles to prevent it from flopping. The angles will also serve as a support for interior finishing panels.
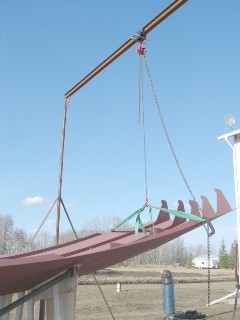
Moving the hull backward
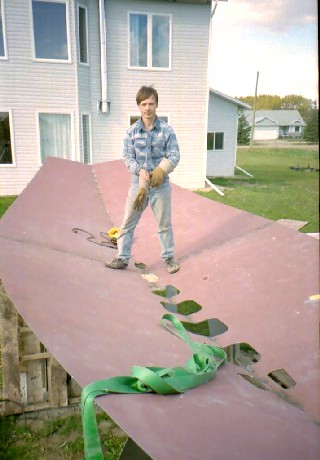
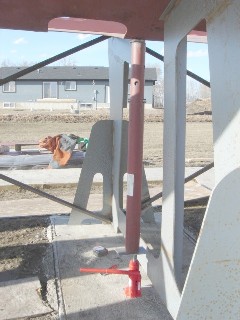
The bottom had already weighed about a ton - too heavy for my half ton gantry. The next three pictures show how I used the combination ot two jacks and the gantry to move the hull backwards.
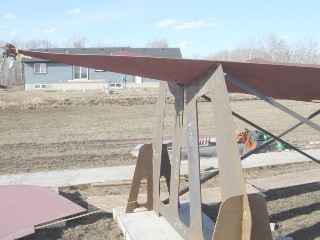
Basically, I used the gantry to pull the hull and two jacks to lift it off the jig. First, I attached the gantry to the aft bottom plates and stretched it, so it pull the hull backwards when it gets lifted of the jig. Then using my car jack I lifted the bottom plates of the rare jig. At this point the bottom was only supported by the middle jig. As I was slightly lifting it off the middle jig with my two ton hydrolic jack, the gantry was pulling the bottom backwards by few inches. After repeating this sequense of actions several times, I managed to put the bottom on its true place relative to the jigs.
What a relief was when I saw that the bow got lied on the front jig after I had moved the bottom.
It stayed on the jig even after I had installed the central bulkhead.
Numbers do not enumerate the bulkheads. There are only three of them: one (#0) for the very bow and two (#5 and #7) for the engine compartment. The number enumerates frame relative position starting from 0 at the bow and ending with #10 at the aft following the transom.