


Keel
When to install the keel
Bruce says that a keel may be installed any time. At the beginning of construction I wasn't sure whether the finished boat's height including the keel will be sufficient to pass under bridges on its way to a coast. That's why I had decided to put it in place last.
The more I was thinking of handling of two 175 kg keel plates under the boat where my gantry was not going to work, the more I was inclined to have done the keel first.
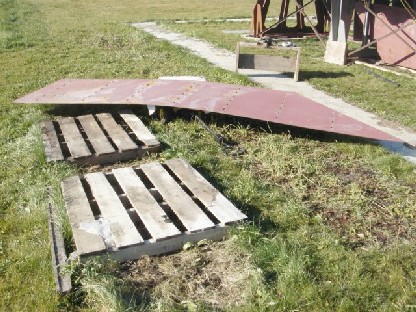
I still need to solve the problem of lifting heavy plates under the boat. For now I just prepared the skeleton.
Double bottom plates
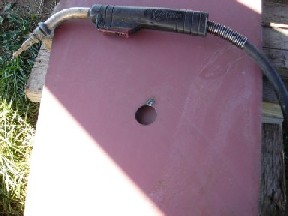
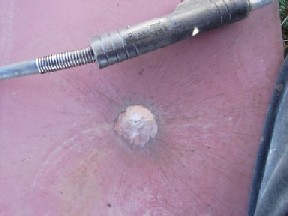
There are two 6 mm keel bottom plates. I welded them together around the perimeter to prevent moister from getting in between them and also welded them through 5 round holes. It's not difficult to weld the entire hole of this size. I'd rather fill it with steel than with a filling compound.
Keel frames


There are seven keel frames and a solid 40mm rod where forward edges of keel plates are welded. The port keel plate is welded first the usual way from inside to the frames. The starboard keel plate is welded from outside through one to six holes for each frame. Therefore, a 40mm back plate is welded perpendicular to each port side of a frame and also along the keel and hull bottom plates.
These back plates are supposed to be continiously welded on both sides. Lots of welding but even more grinding. It will be impossible to grind these welds after the keel plates are installed. I had to do it first.
Today must have been last relatively warm and sunny Sunday in October, around 10 degrees Celsius. I had almost finished with keel frames and back plates. I needed about a day to be ready for the keel plates installation. Instead of dedicating this Sunday for it, I decided to prepare for the winter. It had been snowing a few times last week. I'd better be ready.
Off topic
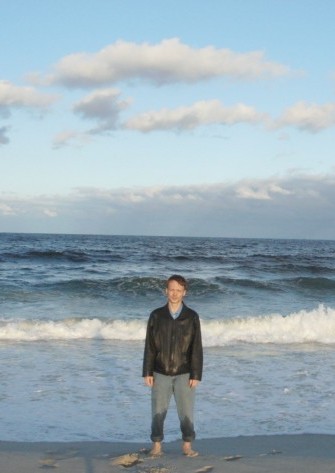
The picture to the right is slightly off-topic. A business trip to Princeton gave me a chance to walk on a deserted Atlantic beach in The Island Beach park in New Jesrsey.
I couldn't stand and got wet in yet warm Atlantic water, breathed salty humid air and listened to its eternal roar.
I hadn't been on a coast for a few years. I had been deeply missing an ocean since I left Vancouver and the ocean did strike with all its magnificent power that gave me new strength to continue, hopefully through the end, my boat construction.
Last plate off the ground
I didn't want to leave the keel plates laying on the ground for the entire winter. They got slightly rusty during the last winter and this summer despite of being primed. The primer is only good for six months according to Sigmaweld MC specification.
On the other hand, I had no time left to weld both plates in place. There is lots of work because I need to weld one plate to all 7 frames continuosly on both sides, grind and prime inside prior to welding the second plate from outside.
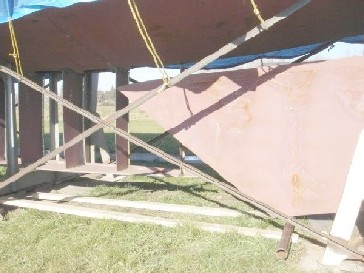
I decided to relocate keel plate under the hull. No more obstruction for my lawn mower!
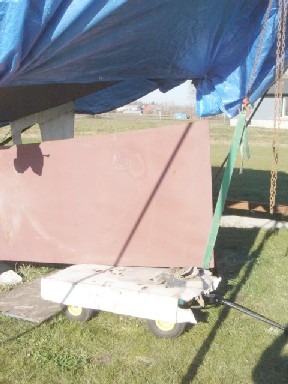
I managed to handle heavy plates and slide them under the hull through jig opening in a vertical position. They will be much better protected there than on the ground.
I used the gantry to lift a plate vertically and hold one end of it while I rolled the other end over the pipe moving the plate on a garden cart.
Ready for winter
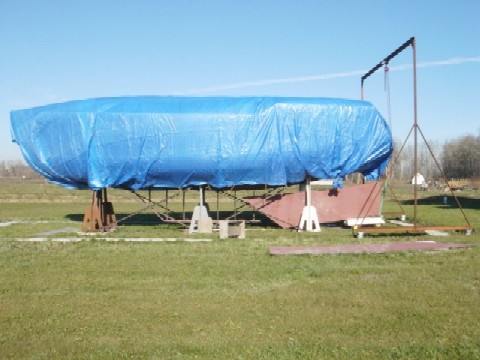
Last weekend I spent some time covering the hull. Still doubt that this would hold during strong winds.
There will probably be no more construction until spring unless I decide to weld a rudder in my garage. I'm planing to make minor changes to some pages of this website during the winter but primarily I want to work on the unfinished house.creatica.org site.
A week later
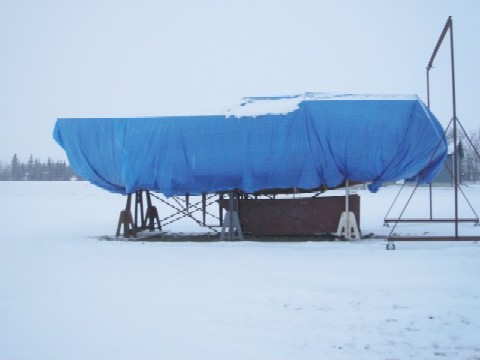
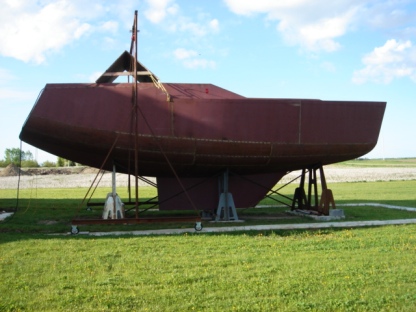
People send me emails asking about the current status of the project. The picture to the right is the answer to that question.
Year 2007 season has begun
The last weekend of April the 2007 construction season has been open. Hurray!
The joy did not last long though as I ran out of welding wire on Saturday. All welding supplyers were closed on a weekend, of course meaning that Sunday would be wasted. To compensate for my disappointment it began raining next morning, so I did couple of useful things inside the house.
It was pouring all week but finally cleared by the next weekend and I managed to finish welding and grinding the backing plates for the keel's starboard plate.
Mastercraft cord drill failed this weekend - drive bearing was gone. This made it four for the Mastercraft power tool failures. All were made in China. The first one was a circular saw that failed in the middle of the day during the house construction and was replaced with Dewalt. The second was a Mastercrast rotary tool and the third - a Mastercraft cordless drill battery charger. Now Mastercraft has my official "boo" for anything that they make regardless of their famous three year warranty. All Dewalt tools made in USA still work despite of their one year warranty.
The port keel panel is to be installed first. I measured it along each of the lines where keel frames were supposed to be welded. It appeared to be 5 mm taller than necessary.

The dilemma "to grind or to cut" was resolved quite easily as my plasma cutter refused to work. It had died in winter when I was cutting the frames for portlights in the garage due to water condensation and an air filter failure to stop it. I replaced the torch since then as it was shorted out but hadn't tried the plasma cutter yet.
An hour and a half troubleshooting revealed a failure of the air valve. The "Set Air" switch properly supplies the 24v voltage to the valve but the valve doesn't open. The solenoid circuit shows 41.5 ohm, which seems to be ok, well at least it is not open. This valve is of course not a Miller stock item and has to be ordered.
Surprisingly, grinding the plate took about the same time as finding the problem with the plasma cutter. A single 7-inch grinding weel even withstood 6-mm keel plate abuse without replacement. The buzzing in my ears lasted for the entire evening though. I had to muffle it a bit with James Bond Casino Royale.
Port plate
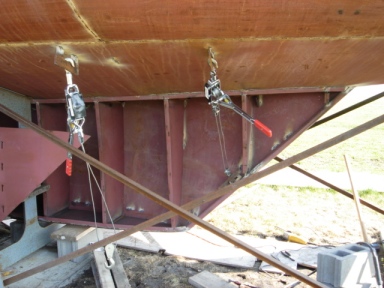
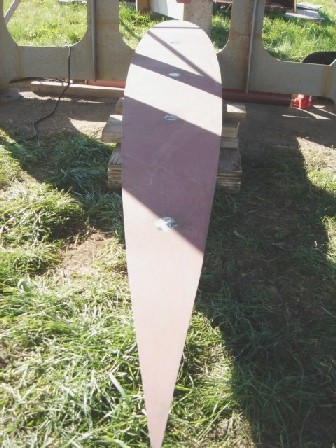
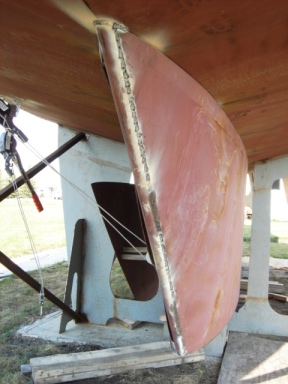
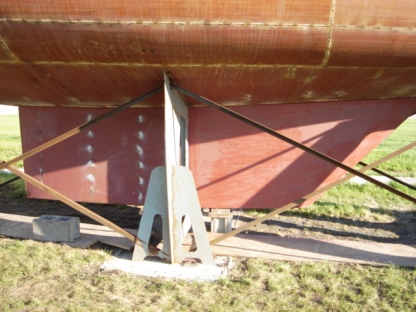
This is how I did it. Two come-alongs, a sledgehammer and some swearing did the trick - 6mm plate curved and met the keel stem made of 40 mm solid steel bar. The picture below shows the keel curvature. Looks perfect from this angle.
It was relatively easy to bend the port plate as I could weld hooks to the inside of it and pull it in with my two 2-ton come-alongs helping with the sledgehammer after each pull.
Heating the plate might have helped even further in achieving the smoother curvature as the sledgehammer caused the plate to bend on keel frame's edges. These "rough" corners are slightly noticable if to look from behind at a certain angle. Oh well, it is going to be under water anyway but might create little turbulence. I may need to slightly grind them later.
The starboard plate would be a challenge as for the most part it will have to be pushed rather than pulled. The exception is edges - I hope that I can still pull them. In order to push, I may use a car jack but will need to come up with some sort of a fulcrum for it.
Ballast
For the next few days I'm going to do final welding, grinding and priming of the port plate. The question is whether to install the starboard plate first and then deal with the 3.5-ton lead ballast or put the lead ingots first and then close the starboard side? Using ingots will necessitate filling the voids with the melted lead, which is not a healthy job to say the least. Some people use lead shot instead and seal it with epoxy on top.
I may postpone this heavy lifting till I move to the coast though. It is already close to 10 tons. My concrete pads sank under such weight overtime. The problem was that they sank unevenly and now the bow of the hull is not fully rested on the jig.
The new look
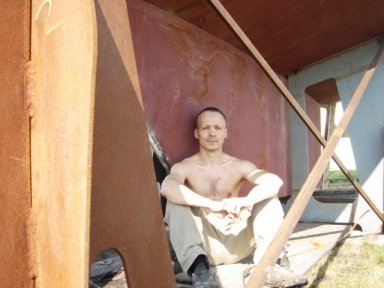
No, I didn't loose playing a strip pocker. My hairdresser took a vacation or closed the business. Anyway, I was thinking to shave my head regardless of that. In long voayges one would have to do it anyway. It was time to start practicing with clippers. Beginning with 21mm cut, with two mirrors after an hour I finished somewhere between 9 and 3mm cut.
Finishing the keel

Despite the poor weather forecast for the Victoria Day long weekend, it didn't rain and I was able to almost finish the keel.
Grinding off 5mm on the port side was a bit on a safe side and required additional trimming. Therefore, I measured the starboard piece more accurately. It would have needed 8 to 10 mm of cutting and the air valve that I ordered for my plasma cutter from Kristien Electric hadn't arrived yet. As I said before, the solenoid seemed to be ok, there must have been some mechanical problem with the valve itself. Well, I took it apart, cleaned, assembled and installed and voilà, it worked!
The plasma cutter is such a delicate flower! Won't work until it's clean. The same applies to its torch.
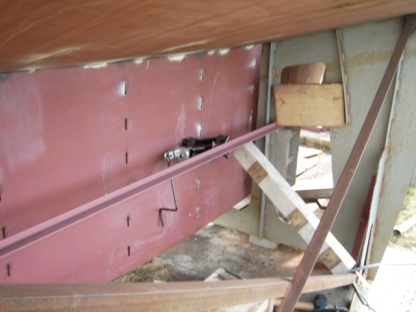
On the picture to the left you can see how I moved the heavy keel plate under the boat. Basically, I just rolled it on two elevated pipes. It was very tight, so the angle must have been precise in order to pass under the central jig. I even had to grind a bit off the bottom of the jig. The keel plate is the deepest at the bow. To make it go easier, I should have inserted it through the front jig instead of rare.
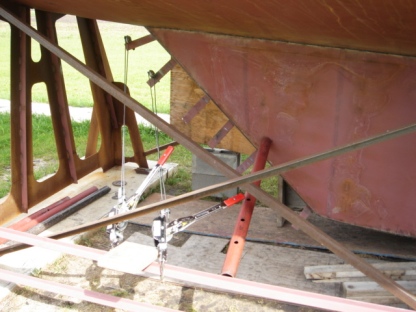
Below are my invented fulcrums: t-bars welded to jigs. Pulling the edge of the starboard sheet was much easier because those short pieces of t-bars had acted like levers. I should have used them when I was pulling the port side too!
I often think that building a second hull will be much better, faster and more pleasant experience having the knowledge that I gained with the first hull. Hope that my web pages will help people like me to avoid certain difficulties with their projects.
Fulcrums
Almost done
As you see, the keel is almost done. I ran out of welding wire again! Should have bought two spools instead of one... Well, at least the lawn got mown.
From now on I decided to prime ground welds right away instead of letting them rust and then spending time brushing them again. My Sigmaweld MC primer is a bit old now and the paste has more particles that do not dissolve well in the binder. As I don't have a strainer, it clogs the paint gun right away. I should have come up with a home-made one, I guess. A tea/coffee strainer might work but having to clean the gun after each small job is too much hassle. Therefore, I just used a piece of foam to paint the welds. Not pretty but better than rusty. Since it has to be sanded anyway prior to painting, it works for me.
Keel is done
Keel is now completed.
The ballast is going to be installed later after moving to the coast. Only three quarters are installed prior to launching anyway. The rest is used for final balancing after launching.
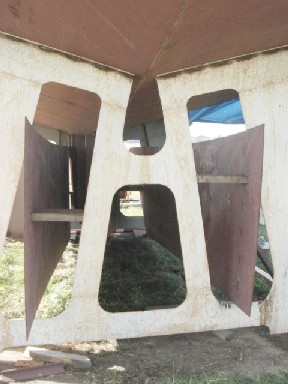
The "Bimini" is my new invention for working inside on rainy days. It is supposed to protect central cockpit from water and still allow sufficient ventilation till time when hatches, portlights and cockpit drains are made.
As I'm now off to final welding and grinding inside, there will not be many updates posted for some time.