


Windows
The same as portlites but bigger
The windows fabrication process was exactly the same as for the portlites:
- draw and print polylines in AutoCAD
- transfer paper templates to steel
- cut a window with plasma cutter using the templates
- make a frame of the cutout piece and 30 mm flat bar
- weld the frame to the opening
- smooth the edges with a grinder
- put some primer on
- make and install the temporary glass
Pretty straight forward and well-defined process except that it required lots of welding and even more grinding. The time spent on one window ranged from 7 to 8 hours.
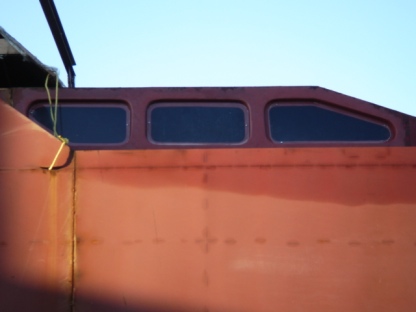
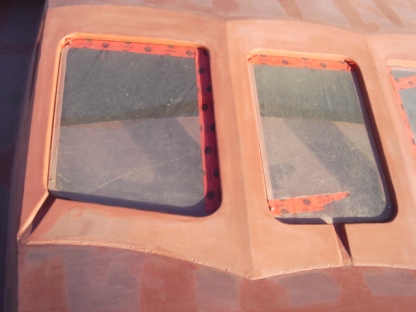
On the picture you can see the cabin side windows completed with the temporary acrylic glass installed.
Three cabin front windows are next.

Parking attendant on duty
One may ask how the photo to the right is related to the boat building? The answer is simple. It might have been over by now if this guy had decided to ticket me for a parking violation in The Jasper National Park, 400 km west of my place, on the Alberta Heritage Day's long weekend.
It took me sometime to get the camera with my shaking hands. The bear was much closer than you can see on the picture. I could have patted him if I hadn't jumped into my car.
Front cabin windows
After spending considerable amount of time for final welding in the aft cabin, I returned to the front windows.
Here I will illustrate the process described above.
Cutting out

To the left is a nice plasma cut made with a help of two templates, shown on the other picture below. I remind that the deck and the superstructure are made from 4 mm steel which is a bit easier and faster to cut. On the opposite site, of course, it is ugly because of the slag but the slag is quickly removable with a slag hammer that works better than a grinder. Safer too :) Spy it on the collage to the right. The hint: it is black with a spring-like handle.
Making a frame

On the right picture, you can see the window opening created after knocking off the cutout piece with a sledgehammer. Also, a slightly crowded view of bending a frame against the knock out piece. You can see that the frame size is too large for my clamps, therefore, I made four square holes in each corner. After 25 mm flat bar is properly braced the inner mold is removed and welded to the bent flat bar using the corner weld. The later can be rounded to a smooth corner with a grinder. Oh well, I'm no longer nervous about it even without the protective shield. :)
Frame is ready
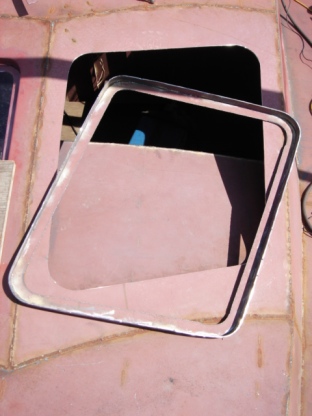
The left picture shows finished window frame ready for welding in the opening.
Opening is complete
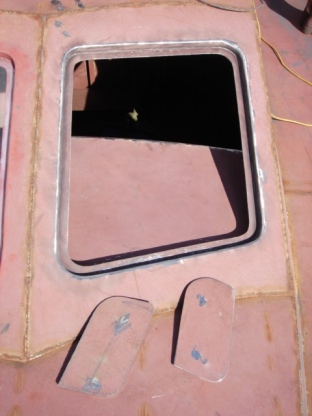
Done. To the right below the opening, you can see the cutout templates that I was talking above.
Windows are done
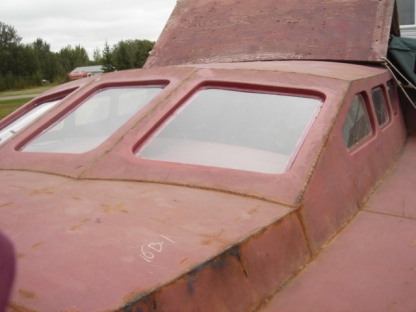
Here you see all cabin windows completed. A couple of side and all front windows were put on silicon II to prevent them from leaking in the rain.
After looking at dew and rain water collected at the lower portion of the front pilot house windows for a few days, I decided to fix it and made drain channels. See the picture to the right. I am now thinking to do the same to the side windows, althought it is less critical there.